
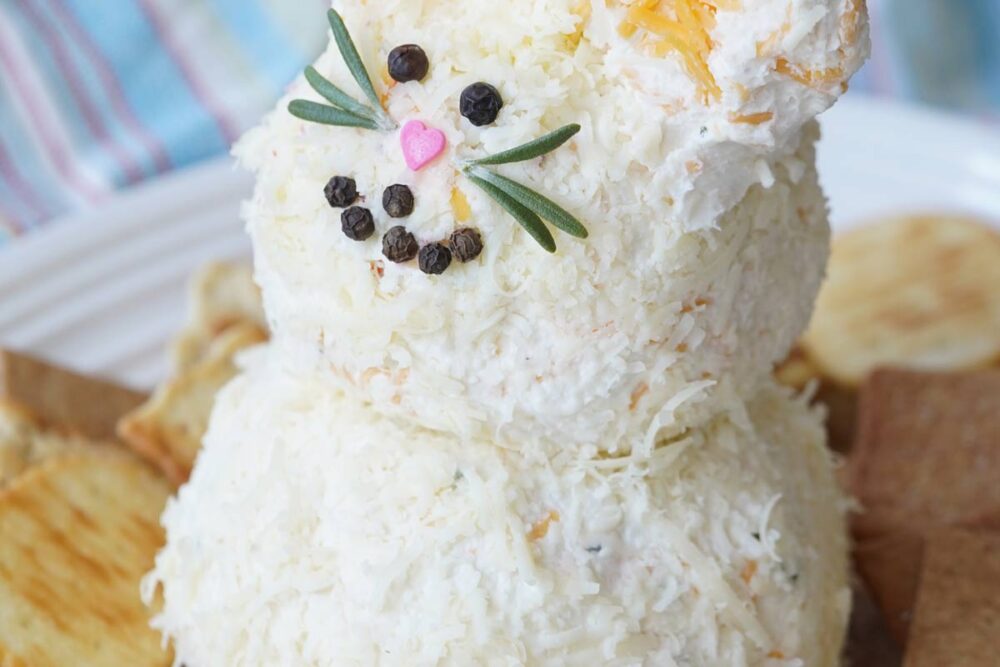
These adorable Bunny Snowball Cupcakes are perfect for your Easter brunch spread. They are made with vanilla cupcakes, a buttercream frosting, shredded coconut, and white chocolate bunny ears.

We always make something festive for the holidays to put on the table, just for fun. That’s exactly what these bunny snowball cupcakes are for. Everyone loves them – how can you not. They’re adorable!
Why You’ll Love It
- Easy to Make: With straightforward instructions, even novice bakers can create these delightful treats, ensuring a stress-free and enjoyable baking experience.
- Kid-Friendly Fun: The playful bunny theme and coconut coating make these cupcakes a hit with children, ensuring not only a delightful treat but also a fun baking activity.
- Shareable Joy: Bunny Snowball Cupcakes are not just desserts; they’re a way to share joy and create lasting memories. Bring them to potlucks, picnics, or bake sales.
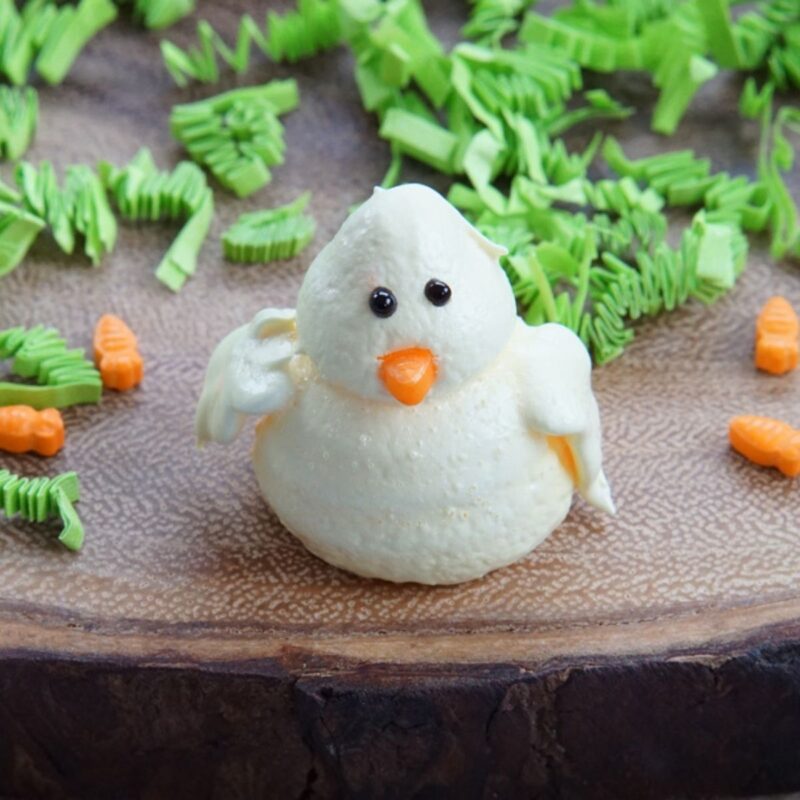
» You might also like these Adorable Easter Meringue Chicks.

Helpful Tips
- Sift the cake flour, baking powder, and salt together to remove any lumps and achieve a lighter, fluffier texture in the cupcakes. When adding the dry ingredients and milk to the batter, alternate between the two to ensure even mixing without overworking the batter.
- Resist the temptation to overfill the cupcake liners; filling them about 2/3 full will allow for optimal rising without spillage.
- Bake the cupcakes in advance and store them unfrosted, decorating them just before serving for a fresher presentation.
Other Easter Recipes to Try
- Deviled Egg Chicks
- Easy Peanut Butter Easter Nests
- Easter Meringue Chicks
- 13 Deviled Egg Variations You’ll Love
YOU MIGHT ALSO LIKE

Like it, Love it, Want Some More of It? Subscribe to our YouTube channel to watch us cook and follow us on Pinterest, Instagram and Facebook. We really love it when you save our recipes to Pinterest 😊

Bunny Snowball Cupcakes
Ingredients
For the cupcakes:
- 1 1/2 cups (188 g) cake flour
- 2 teaspoons (8 g) baking powder
- 1/2 teaspoon (3 g) salt
- 1/2 cup (114 g) unsalted butter room temperature
- 1 cup (200 g) granulated sugar
- 1 1/2 teaspoons (7 ml) vanilla extract
- 3 large egg whites room temperature
- 1/2 cup (118 ml) whole milk room temperature
For the buttercream frosting:
- 1 cup (227 g) unsalted butter room temperature
- 4 cups (480 g) confectioner’s sugar
- 2 teaspoons (10 ml) vanilla extract
- 1/8 teaspoon (0.75 g) salt
- 1/3 cup (79 ml) heavy cream very cold
For the decorations:
- 1 cup (226 g) white chocolate melting wafers
- 1 drop red food coloring
- 1 1/2 cups (135 g) sweetened shredded coconut
- 30 Candy eyes
Instructions
For the cupcakes:
- Preheat the oven to 350°F(175°C), with the oven rack in middle position. Prepare the cupcake pans by lining them with cupcake liners. Set aside.
- In a medium bowl, combine the cake flour, baking powder, and salt. Whisk or sift together and set aside.
- In a large bowl, cream the butter and granulated sugar together with a stand or hand mixer for about one minute, until light and fluffy. Blend in the vanilla extract. Add the egg whites and continue beating until the mixture is again light and fluffy, about one minute.
- Gradually add the flour mixture to the butter mixture in three parts, alternating with the milk. Mix just enough to incorporate each ingredient and achieve a smooth batter. Be careful not to overmix.
- Evenly distribute the batter among 15 cupcake liners, filling each 2/3 full.
- Bake for 15-18 minutes. They are done when a toothpick inserted into the center comes out clean. Remove the pan from the oven and place the cupcakes on a wire rack to cool completely.
For the frosting:
- In a large bowl, beat the butter until creamy, about one minute.
- Gradually add the confectioner’s sugar, mixing slowly until fully combined. Then beat on high speed for 2-3 minutes until it becomes light and fluffy.
- Add vanilla extract, a pinch of salt, and heavy cream. Continue to beat for an additional 2 to 3 minutes.
For the decorations:
- Place a piece of parchment paper on your work surface.
- Add the melting wafers to a completely dry microwave safe bowl. Microwave at 20 second intervals, stirring between, until mostly melted. Continue stirring until smooth.
- Dip the larger knife in the melted chocolate. Scrape the back of the knife clean against the bowl. Hold the coated side of the knife about 1 1/2 inches up from the edge of the paper. Gently place the knife against the paper. Press slightly while pulling toward you, to make one long ear. Continue to make 30-35 ears (it’s always good to have extra, in case of breakage).
- Add a very small drop of red food coloring to the remaining chocolate and stir.
- Dip the smaller knife into the pink chocolate. Scrape the back of the knife against the bowl.
- Press the pink chocolate onto the middle of the ear and pull the knife toward you, to make a smaller pink inner ear. Allow the chocolate ears to set completely, at least 30 minutes.
- To frost the cupcakes, mound the frosting up on each cupcake. Gently roll each cupcake in the coconut.
- Press the chocolate ears into the frosting. Then add candy eyes, a pink heart sprinkle nose, and whiskers if you like.
Equipment Needed
- 2 Cupcake tins
- Mixer or hand mixer
- 2 Paring knives (one smaller than the other)
- Parchment paper
Notes
- Sift the cake flour, baking powder, and salt together to remove any lumps and achieve a lighter, fluffier texture in the cupcakes.
- When adding the dry ingredients and milk to the batter, alternate between the two to ensure even mixing without overworking the batter.
- Resist the temptation to overfill the cupcake liners; filling them about 2/3 full will allow for optimal rising without spillage.
- Bake the cupcakes in advance and store them unfrosted, decorating them just before serving for a fresher presentation.
Nutrition
Laura is a home cook, with 25 years experience behind the stove, who spends an extraordinary amount of time in the kitchen cooking. She loves making new recipes and finding wonderful new things to eat, both at home or abroad. She spends a lot of time researching, crafting, and perfecting her recipes.