
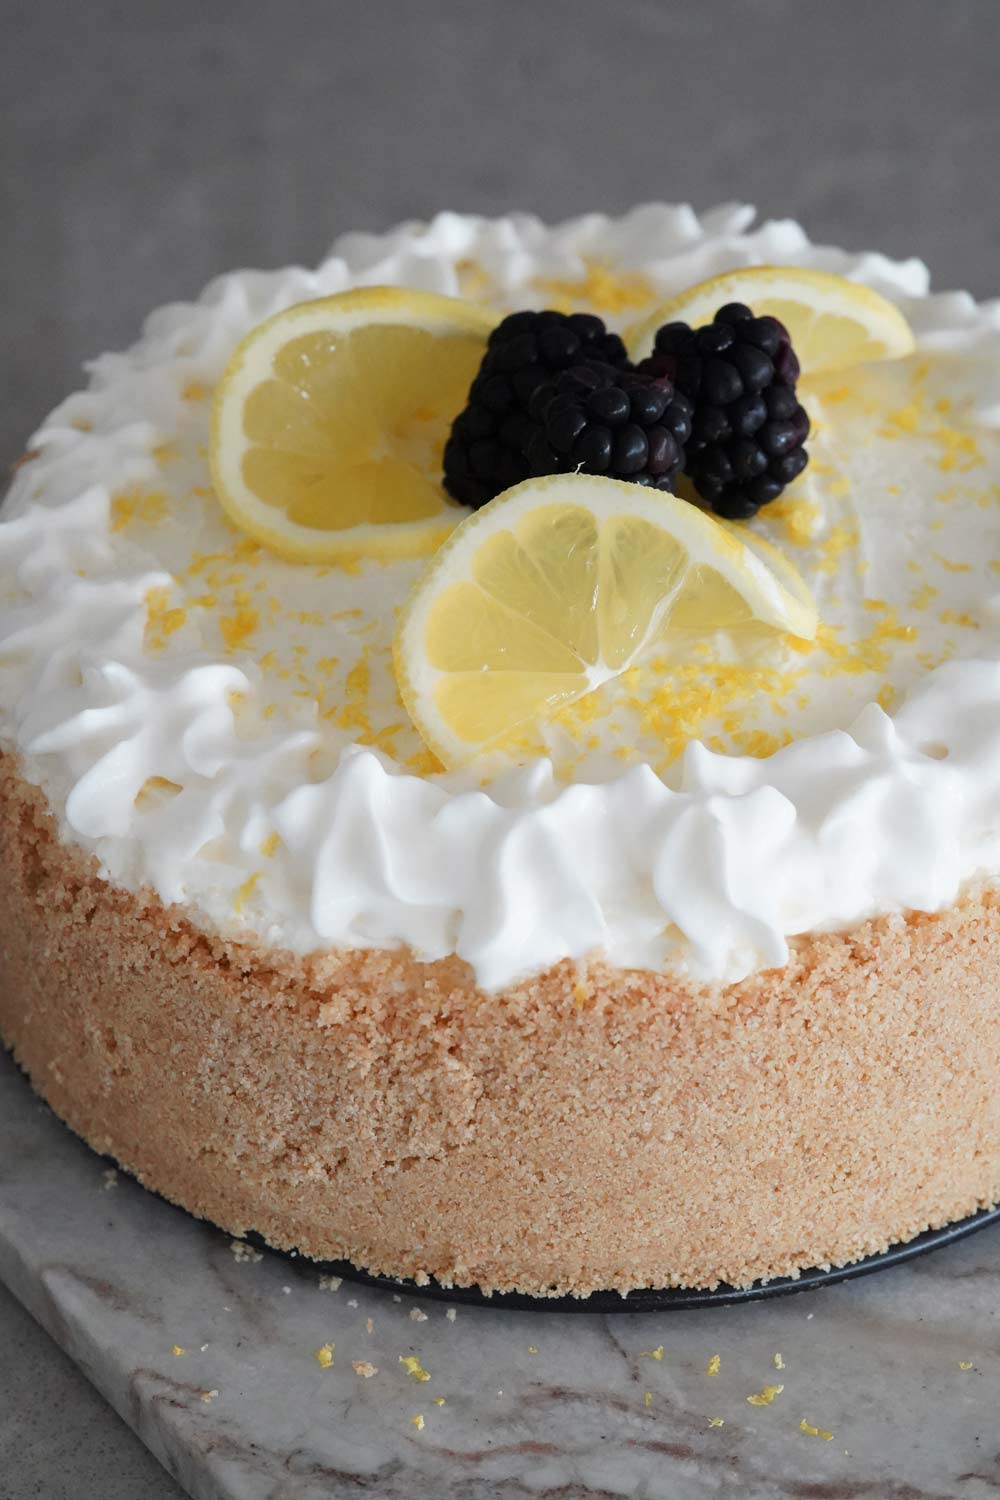
This No-Bake Lemon Cheesecake has a graham cracker crust and a cream cheese filling that is flavored with a burst of lemon zest for an easy and impressive dessert.
I love cheesecake but I’m not always up for baking it. That’s why I usually make this Philadelphia No Bake Cheesecake. It’s very simple. When I found this No-Bake Lemon Cheesecake on The Pioneer Woman, I had to give it a try. It has all the rich and creamy taste of cheesecake but without the hassle of baking.
With just a few adjustments, I think I landed a pretty amazing no-bake cheesecake with a vibrant lemon flavor that had a smooth and fluffy texture. Best of all, I spent no time baking it. Just put it in the refrigerator overnight, and it’s done.
» You might also like these Lemon Poppyseed Cupcakes.
Ingredients Needed
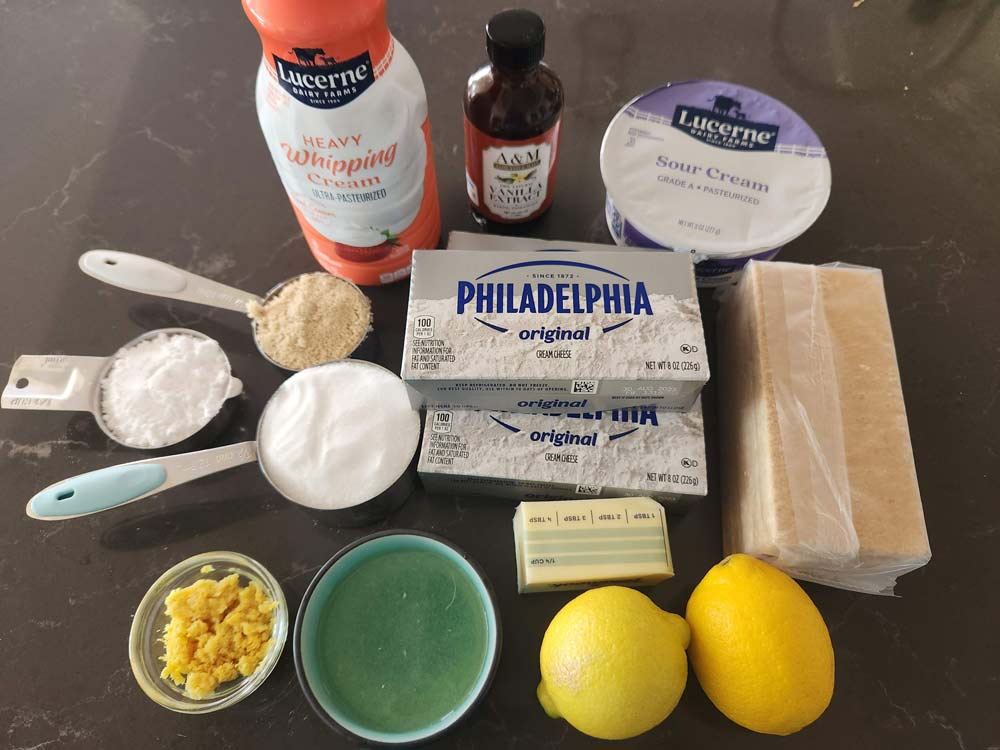
- Graham Crackers – You’ll need 10 full sheets of graham crackers. Just use your favorite brand.
- Light Brown Sugar – The brown sugar help hold the graham crackers together so your crust doesn’t fall apart.
- Salted Butter – Be sure to use salted butter to add a bit of flavor to the crust. It needs to be melted but not boiling hot.
- Full-fat cream cheese – Only use full-fat cream cheese for the best texture and flavor. In order for the cheesecake to firm up properly, you need the full-fat content.
- Sour cream – Also use full-fat sour cream.
- Heavy cream – Don’t be tempted to use half and half here. It needs the full fat of heavy cream.
- Granulated sugar – You can replace this with a sugar substitute like monkfruit, allulose or erythritol if you want to cut down on the sugar.
- Confectioners’ sugar
- Fresh lemon juice – Use fresh juice for the best flavor.
- Lemon zest – You’ll need the zest of about 2-3 lemons to get a nice burst of flavor.
- Vanilla extract
- Whipped cream, lemon slices, and lemon zest – for optional garnish

Helpful Tips
- Prepare a springform pan by placing a round piece of parchment paper in the bottom. This isn’t necessary, but will help you remove the crust from the bottom of the pan without crumbling it to pieces. It’ll be much easier to cut the crust and serve each piece if you can slide it easily off the bottom of the springform pan.
- If you want to get creative, you can experiment with different types of crusts, like Oreo or chocolate, using different types of cookies.
- Use room-temperature cream cheese. This will make it easier to blend with the other ingredients and result in a smooth and creamy texture. If it’s not quite soft enough, you can put it in the microwave for 10 seconds to loosen it up.
- Use fresh lemon juice and zest for the best flavor. I’ve found that the zest adds the most flavor without further watering down the filling, so if you desire more flavor, add more zest, not more juice.
- If the filling is too runny, add more confectioners’ sugar to thicken it.
- Over-mixing can cause the filling to become dense and heavy, so be careful not to overdo it.
- The cheesecake can be made several days in advance and stored in the fridge until you’re ready to serve it.
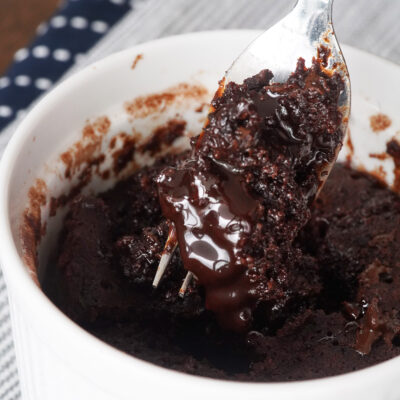
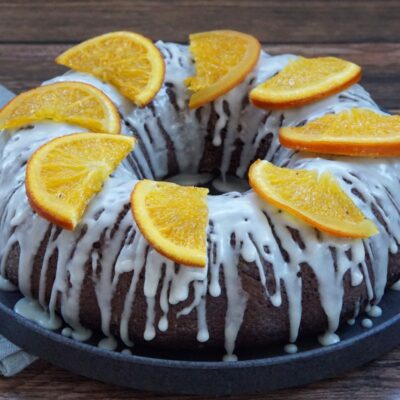
YOU MIGHT ALSO LIKE


Like it, Love it, Want Some More of It? Subscribe to our YouTube channel to watch us cook and follow us on Pinterest, Instagram and Facebook. We really love it when you save our recipes to Pinterest 😊

No-Bake Lemon Cheesecake
Ingredients
For the crust:
- 10 graham crackers full sheets
- 1/4 cup (55 g) light brown sugar
- 4 tablespoons (59 ml) salted butter melted
For the filling:
- 24 ounce (680 g) blocks full-fat cream cheese at room temperature
- 1/2 cup (60 g) confectioners’ sugar
- 1/4 cup (50 g) granulated sugar
- 2 tablespoons (30 ml) fresh lemon juice
- 2 tablespoons (12 g) lemon zest zest from 2 lemons
- 1/4 cup (61 g) sour cream full fat only
- 1 1/4 cups (296 ml) heavy cream
- 1 teaspoon (5 ml) vanilla extract
- Whipped cream lemon slices, and lemon zest, for garnish optional
Instructions
For the crust:
- Prepare a springform pan by placing a round piece of parchment paper in the bottom. This isn’t necessary, but will help you remove the crust from the bottom of the pan without crumbling it to pieces.
- In a food processor or mini chopper, combine the graham crackers and brown sugar. Blend until ground. Slowly pour in the melted butter. Blend until the mixture resembles coarse sand.
- Transfer the mixture to a 7 or 8” springform pan. Use a flat-bottomed cup to press the mixture evenly down and up the sides of the pan. Press firmly to pack it down tightly.
- Put the springform pan in the freezer while you make the filling.
For the filling:
- Beat the cream cheese in the bowl of a stand mixer until softened. Scrape down the sides of the bowl as needed. Add the granulated sugar; beat to combine. Add the confectioners’ sugar, lemon juice, lemon zest, and sour cream. Beat to combine until very smooth. Scrap the sides of the bowl as needed.
- Transfer the mixture to another mixing bowl.
- In the stand mixer bowl, combine the heavy cream and vanilla extract. Using the whisk attachment, whisk on medium-high speed until stiff peaks form, about 4 minutes.
- Add one-third of the whipped cream to the cream cheese mixture and gently fold it in (scooping the mixture from the bottom of the bowl and folding over the top to combine without letting the air out of the whipped cream). Continue with the remaining 2/3 until fully combined.
- Remove the crust from the freezer.
- Pour the filling into the pan and smooth it down with the back of a spoon until it’s even all around.
- Cover with plastic wrap and refrigerate for at least 12 hours.
- Garnish with whip cream, lemon zest and lemon slices, if desired.
Notes
- Because this is a no-bake cheesecake, it has a more difficult time setting up and getting firm enough to slice. I find it best to put it in the freezer for 10-15 minutes before serving to firm up enough to slice and serve.
Nutrition
Laura is a home cook, with 25 years experience behind the stove, who spends an extraordinary amount of time in the kitchen cooking. She loves making new recipes and finding wonderful new things to eat, both at home or abroad. She spends a lot of time researching, crafting, and perfecting her recipes.