
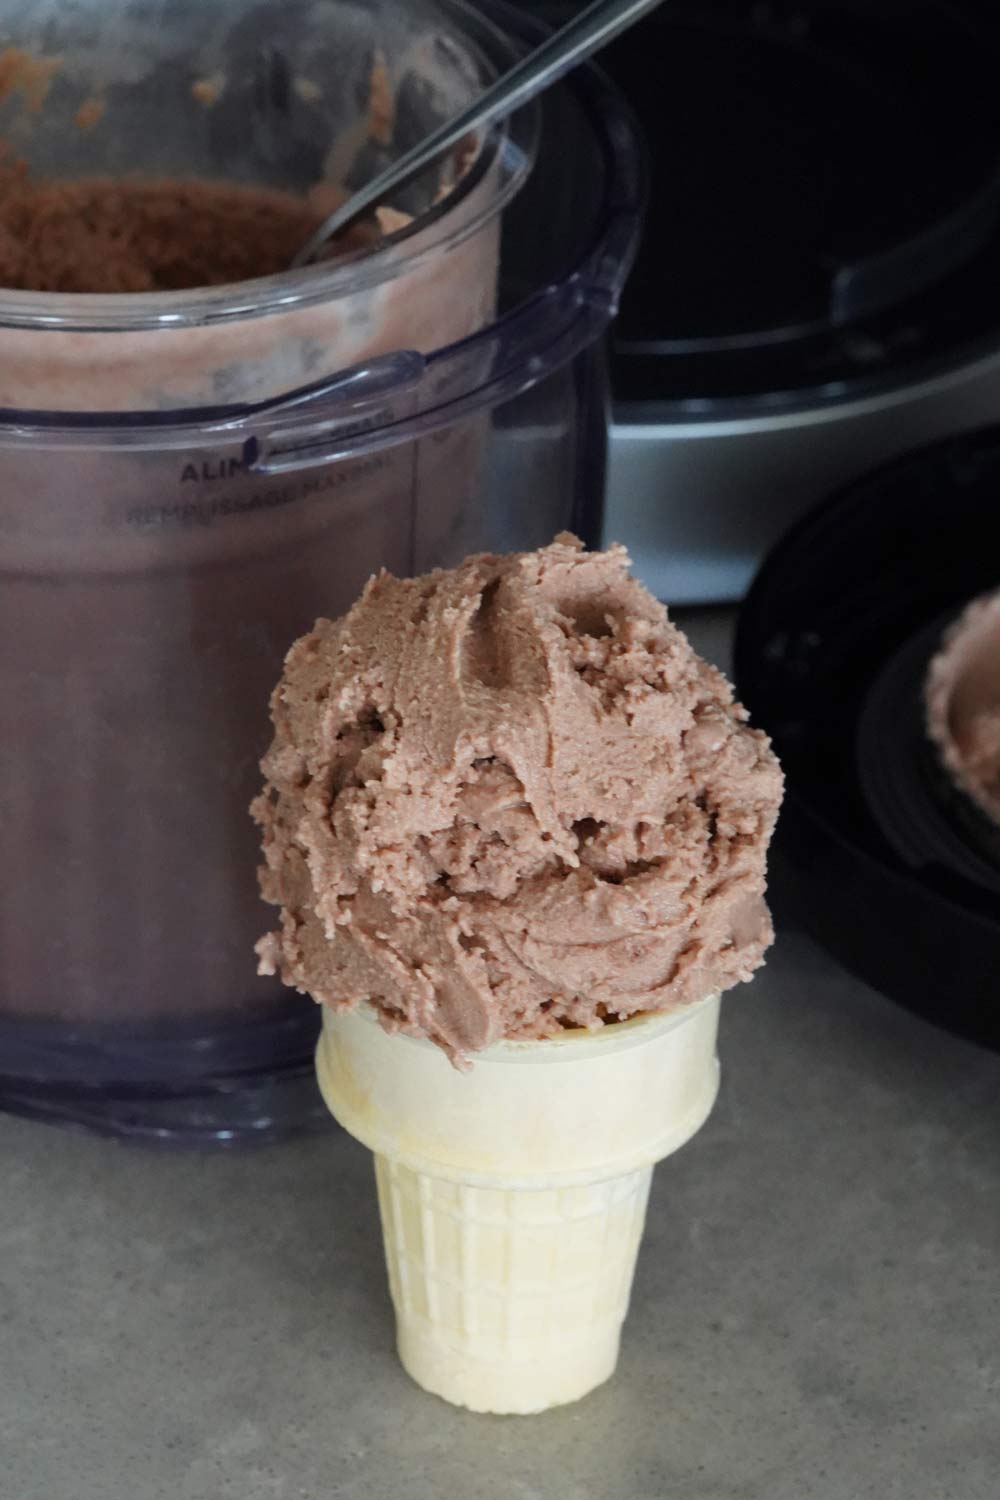
If you have a Ninja Creami Deluxe Ice Cream Maker and you’re looking for great recipes to make, you can’t go wrong with this basic Ninja Creami Chocolate Ice Cream, which can be used as a base to make all kinds of different chocolate variations.
» You might also like this Ninja Creami Vanilla Ice Cream recipe.
We reviewed the Ninja Creami recently when we were given one to try out. I started making ice cream the first day I unboxed it and I have to admit that my freezer is now full of different variations. It all started with the basic Ninja Creami Vanilla ice cream and blossomed from there, once I realized how simple it was to do.
If you have a Ninja Creami, or are thinking about getting one, this chocolate ice cream is a great place to start. Read through the recipe below and you’ll see how simple it is. Just 5 ingredients and about 5 minutes of your time will give you a pretty great ice cream. You can even use this ice cream to make this chocolate milkshake recipe.
From this chocolate base, you can make all kinds of variations. You can add in any toppings you want after you’ve mixed it, like chopped nuts, chocolate chips, or toffee bits. I even blended in a Kind bar.
Ingredients You Need

- Cream cheese (softened) – This is the base of the original Ninja Creami recipe. It only takes a tablespoon, and if you forget to soften it, that’s no probably because you can zap it in the microwave quickly.
- White sugar – You can also use a substitute sugar like allulose to make a sugar-free version.
- Vanilla extract – Use a high quality extract for the best flavor. You can also use vanilla bean paste, if you want.
- Cocoa powder – I use this Ghirardelli 100% unsweetened cocoa powder.
- Heavy whipping cream or half and half – heavy cream produces the creamiest result, but you can cut the calories and fat a bit by using half and half and it’s just as good (only a little less creamy)
- Whole milk – Best to stick with whole milk, lest the ice cream turn out more like snow.
Equipment Needed
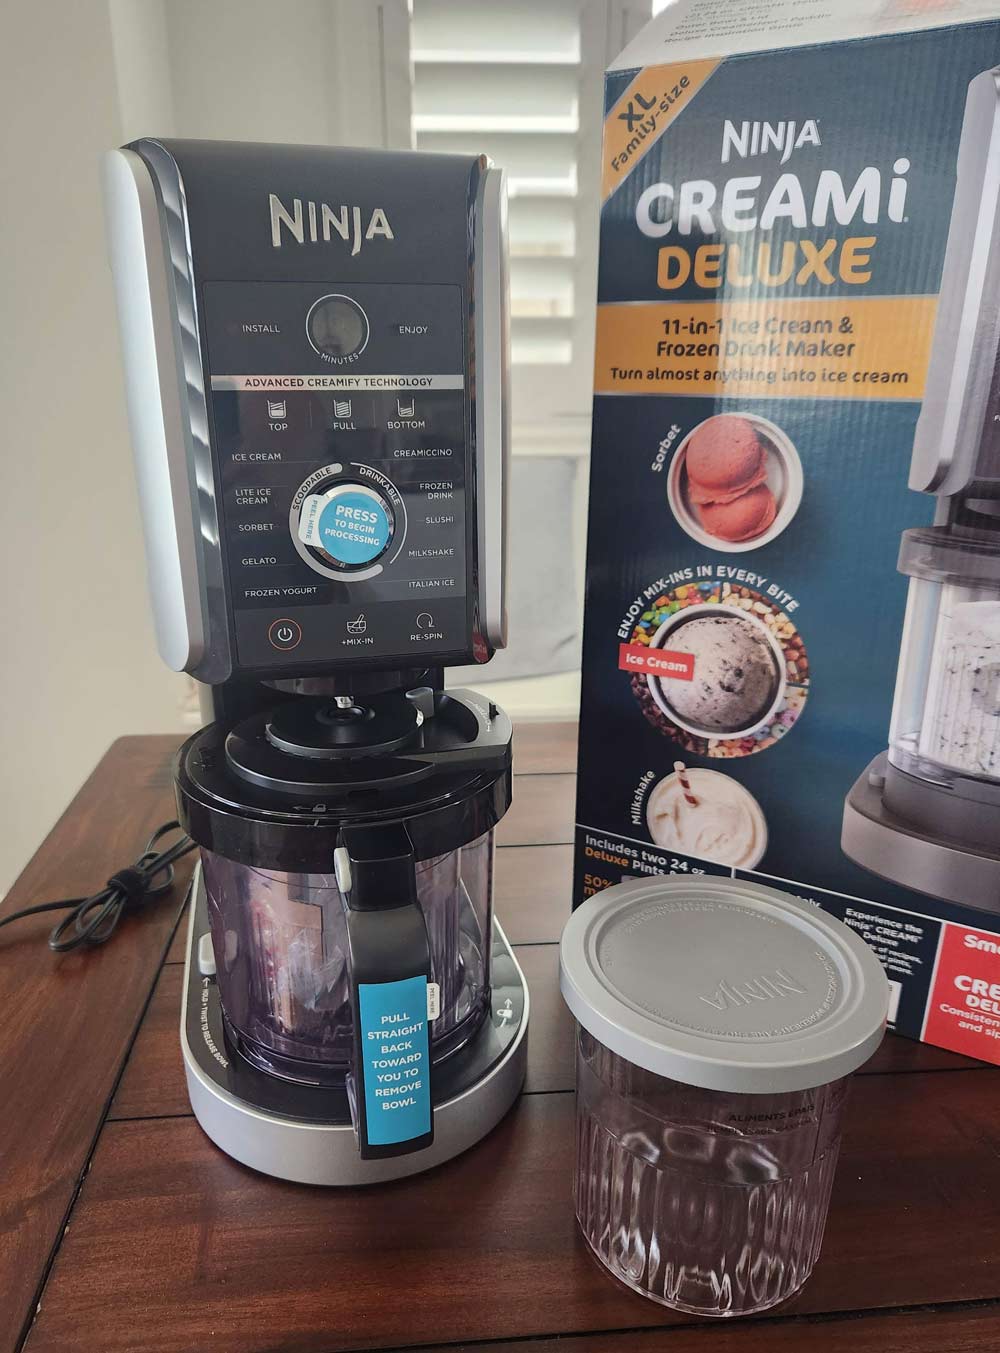
Ninja CREAMi Deluxe
There are two version of the Ninja Creami, but I’d suggest going with the Deluxe because it adds more features and churning power.
Make completely customizable ice cream, slushies, Italian Ice, Creamiccinos, sorbet, milkshakes, and frozen yogurt functions.
Tips for Making Great Ice Cream
- If your ice cream turns out powdery the first time, it’s because the ice cream is very cold. Put it back in the machine and run the Re-Spin cycle. This will make the ice cream creamier.
- The higher the quality of the ingredients you use, the better the ice cream will turn out. The quality of the vanilla extract and the cocoa powder has the highest impact on the flavor.
- I’ve used half and half instead of whole cream a few times and it’s turned out really good, though not quite as creamy. You can try it both ways to see how you like it best.

» If you love ice cream as much as I do you will love these 50 Homemade Ice Cream Recipes for the Ice Cream Maker!
YOU MIGHT ALSO LIKE


Like it, Love it, Want Some More of It? Subscribe to our YouTube channel to watch us cook and follow us on Pinterest, Instagram and Facebook. We really love it when you save our recipes to Pinterest 😊

Ninja Creami Chocolate Ice Cream Recipe
Ingredients
- 1 tablespoon cream cheese softened
- 1/4 cup white sugar
- 1 teaspoon Vanilla extract
- 3 tablespoons cocoa powder
- 1/2 cup heavy whipping cream or half and half
- 1 cup whole milk
Instructions
- Put the cream cheese in a mixing bowl. Microwave for 10 seconds if it’s not yet softened.
- Add the sugar, vanilla extract, and cocoa powder. Whisk together until smooth.
- Pour in the heavy cream and milk. Whisk to combine.
- Pour the mixture into the Creami pint jar. Cover with the lid and freeze for 24 hours.
- When ready, remove the pint jar from the freezer and secure it in the blending jar. Turn on the Ninja Creami. Slide the blending jar into the machine and lock it in to the right.
- Select top, bottom, or full, depending on how much of the pint jar you want to mix. Select the ice cream setting with the dial. Press the dial in to start. It will take 2 minutes to blend.
- When done, push the button on the left of the machine to release the blending jar, then slide it out of the machine and remove the lid.
- If you want add-ins, create a hole in the center of the ice cream, plop in your add-ins. Put the blending jar back into the machine and press the add-ins button.
Equipment Needed
- Ninja Creami
Notes
- If your ice cream turns out powdery the first time, it’s because the ice cream is very cold. Put it back in the machine and run the Re-Spin cycle. This will make the ice cream creamier.
- The higher the quality of the ingredients you use, the better the ice cream will turn out. The quality of the vanilla extract and the cocoa powder has the highest impact on the flavor.
- I’ve used half and half instead of whole cream a few times and it’s turned out really good, though not quite as creamy. You can try it both ways to see how you like it best.
Nutrition
Pin this recipe for later

Laura is a home cook, with 25 years experience behind the stove, who spends an extraordinary amount of time in the kitchen cooking. She loves making new recipes and finding wonderful new things to eat, both at home or abroad. She spends a lot of time researching, crafting, and perfecting her recipes.
Hello Laura,
This turned out delicious! My husband says it’s like eating gelato yummy
Thank you very much for the recipe.
So glad you liked it, Michelle! Be sure to try some of our other Ninja Creami recipes too!
Not enough to fill line.
Misprint on 1/2 cup heavy cream? Should be 3/4 cup?
This recipe doesn’t fill the container. We save some room for adding extras at the end. But if you want it filled, you can add more cream if you want.